It is possible to do some really cool stuff when building Betaflight from source code.
You can add new features or even build a version for an entirely different platform, for example it is possible to build Configurator for Raspberry Pi!
In this article we will walk through the process of building Betaflight step by step from source code.
How is this possible?
Betaflight is an open source project, meaning the source code is freely distributed and can be used, changed and even used for commercial gain!
If you are interested to learn a little more about Betaflight as an open source program, we discussed it a little more here.
So it is possible for us to download the original source code and made modifications before compiling it into an executable program.
Prerequisite
It is possible to compile Betaflight Configurator using Linux, Mac OS, Windows and Android.
It is recommended to compile on the target system, which means we should compile the source code on the OS that we wish to use it on.
This tutorial will cover Linux, Mac OS and Windows. If you are using Windows, you may want to check this out first.
It is also possible to compile Betaflight Configurator on Raspberry Pi, but the process is somewhat different and beyond this scope of this article.
Step 1: Download Betaflight Configurator Source Code
First we will need a copy of the Betaflight Configurator source code, which can be downloaded from Github.
It is possible to download the source code in .zip format directly from the website, however we will use the command line terminal.
First go ahead and open a terminal. Next we need to navigate to the directory where we wish to work from.
You can choose any location, but for the purpose of this tutorial we will use the home directory.
cd ~
Next we will copy the source code using the git clone command. You might need to install git first, in which case see the instructions here.
git clone https://github.com/betaflight/betaflight-configurator
This will create a directory named betaflight-configurator containing all of the source files.
Step 2: Install Node JS
Next we need to install Node JS. The process is slightly different depending on the operating system.
Mac OS
The easiest way to install Node JS on Mac OS is to use the package manager Homebrew.
If you do not have it installed, just copy and paste the command found on this page in order to install it.
It is also worth making sure Homebrew is up to date prior to installing Node JS.
brew update && brew upgrade
Once Homebrew is ready, we can install Node JS with the following command.
brew install node
Linux
It is very simple to install Node JS on Linux, simply enter the following command.
sudo apt install nodejs
sudo apt install npm
Checking the Node JS installation
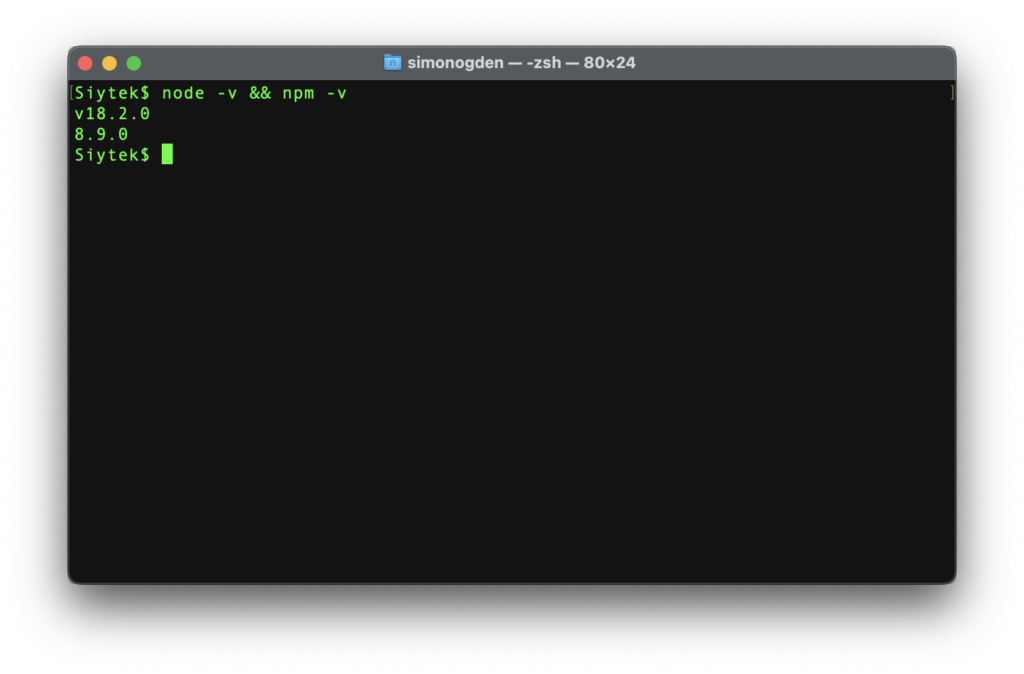
Once node has been installed, you should check that it was successful with the following commands.
node -v && npm -v
This should return two version numbers for Node and NPM.
Step 3: Install Yarn
It is very simply to install Yarn using npm. We can simply enter the following command.
npm install yarn -g
Prior to building we also need to make a small correction to the package.json file.
First we need to know what version of Node we have with the following command.
node -v
In my case I currently have version 18.2.0. We need to enter this into the package.json file.
In order to edit the file you can use a text editor in the operating system GUI, however it is probably quicker to just use the terminal.
If you want a quick lesson on command line text editing, see here.
nano package.json
Scroll down and locate the engines section, amend the Node version to match the version you have.
In my case I needed to change the version from 16.x to 18.x to prevent an error during compilation.
"engines": {
  "node": "18.x"
One you have made the amendment, save and close the file.
Step 4: Build Betaflight Configurator
First we need to switch to the project folder. This folder will have been created during the git clone command in step 1.
cd ~/betaflight-configurator
Once in the source code directory we can run the following command.
yarn install
Lastly we can start Yarn in order to Build Betaflight Configurator.
yarn start
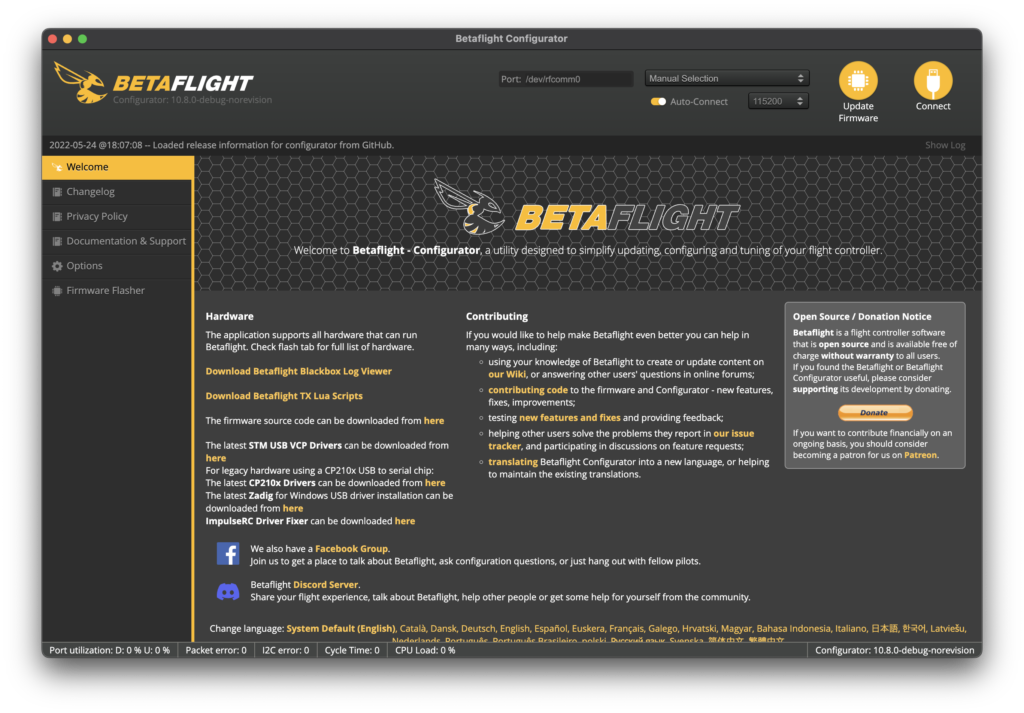
The compilation can take a while so sit tight. Once it has completed your freshly built Betaflight should fire up!
By default you can find the built files, including the application, in the ./debug folder.
Conclusion
In this tutorial we have learned how to install the necessary tools in order to build Betaflight Configurator from source code.
This allows us to perform additional editing to the configurator and even add or develop features.
Alternatively we can just have a little fun! The first think I did was change the logo… 🙂
If you are looking for a further challenge, I would recommend trying to build Configurator on the Raspberry Pi.
Or you can check out some more of these awesome Betaflight tutorials!